Jade Roller Face Map: Where to Roll and Why It Matters (2026)
Updated 2026 | Stop guessing where to roll your jade roller. This complete face map guide shows you exactly which direction to use for each zone and why it matters for results.
Disclaimer
This guide is for general educational purposes only and does not constitute professional skincare or medical advice. Always consult a licensed dermatologist or skincare professional before using any new tool or technique on your skin.

Published on May 14, 2026 | 8 min read
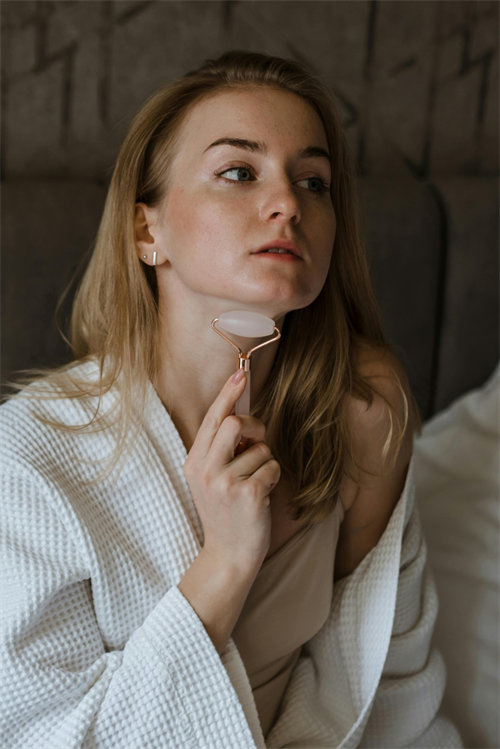
Picture this: you just unboxed your first jade roller, watched a 30-second TikTok tutorial, and started rolling. Up the forehead. Down the cheeks. Across the nose. Anywhere that felt right. Three weeks later, your skin looks exactly the same. The problem isn't the roller — it's where you're rolling. Your face has over 40 lymph nodes clustered around specific zones, and rolling in the wrong direction is like pushing water uphill. Nothing moves. This guide breaks down exactly where to roll, which direction to use, and why each zone matters.
In This Article
Why Rolling Direction Actually Matters
The lymphatic system doesn't have a pump like your blood does. It relies on muscle movement and external pressure to keep fluid flowing. When you roll a jade roller across your face, you're manually pushing lymph fluid through a network of vessels that run in specific directions — generally from the center of your face outward toward the ears, and down the neck toward the collarbone where the fluid drains back into your bloodstream.
Roll in the right direction and you're helping your body clear out excess fluid, reducing puffiness and promoting a clearer, less inflamed complexion. Roll in the wrong direction and you're essentially pushing fluid into areas where it has nowhere to go, which can actually increase puffiness in some zones.
The golden rule: Always roll from the center of your face outward, and always roll downward on the neck toward the collarbone. Think of it as guiding traffic out of your face rather than pushing it around in circles.
The Jade Roller Face Map: Zone by Zone
Here's the complete face map with directions, pressure guidelines, and what each zone targets. Use the large roller end unless specified.
| Zone | Direction | Pressure | What It Targets |
|---|---|---|---|
| 1. Forehead | Center outward to temples | Medium | Tension headaches, forehead lines, sinus pressure |
| 2. Under-eyes | Inner corner outward to temple (small roller) | Very light | Under-eye bags, dark circles, fluid retention |
| 3. Cheeks | Nose side outward to ears | Medium-light | General puffiness, facial contour, product absorption |
| 4. Nose bridge | Between eyebrows down to nose tip (small roller) | Light | Sinus congestion, nose contour definition |
| 5. Jawline | Chin center outward to ears | Medium | Jaw tension, double chin appearance, lymph congestion |
| 6. Between brows | Between eyebrows upward to hairline (small roller) | Light | "11 lines," brow tension, frown lines |
| 7. Neck | Under chin downward to collarbone | Medium | Overall lymph drainage, neck contour |
Zone 1: Forehead — The Tension Zone
The forehead holds more tension than most people realize. If you furrow your brows when concentrating or staring at screens, you're building up muscular tension here daily. Roll from the center of the forehead outward to each temple in 5-6 passes per side. For tension headaches, add an extra pass along the brow bone and slightly above the eyebrows.
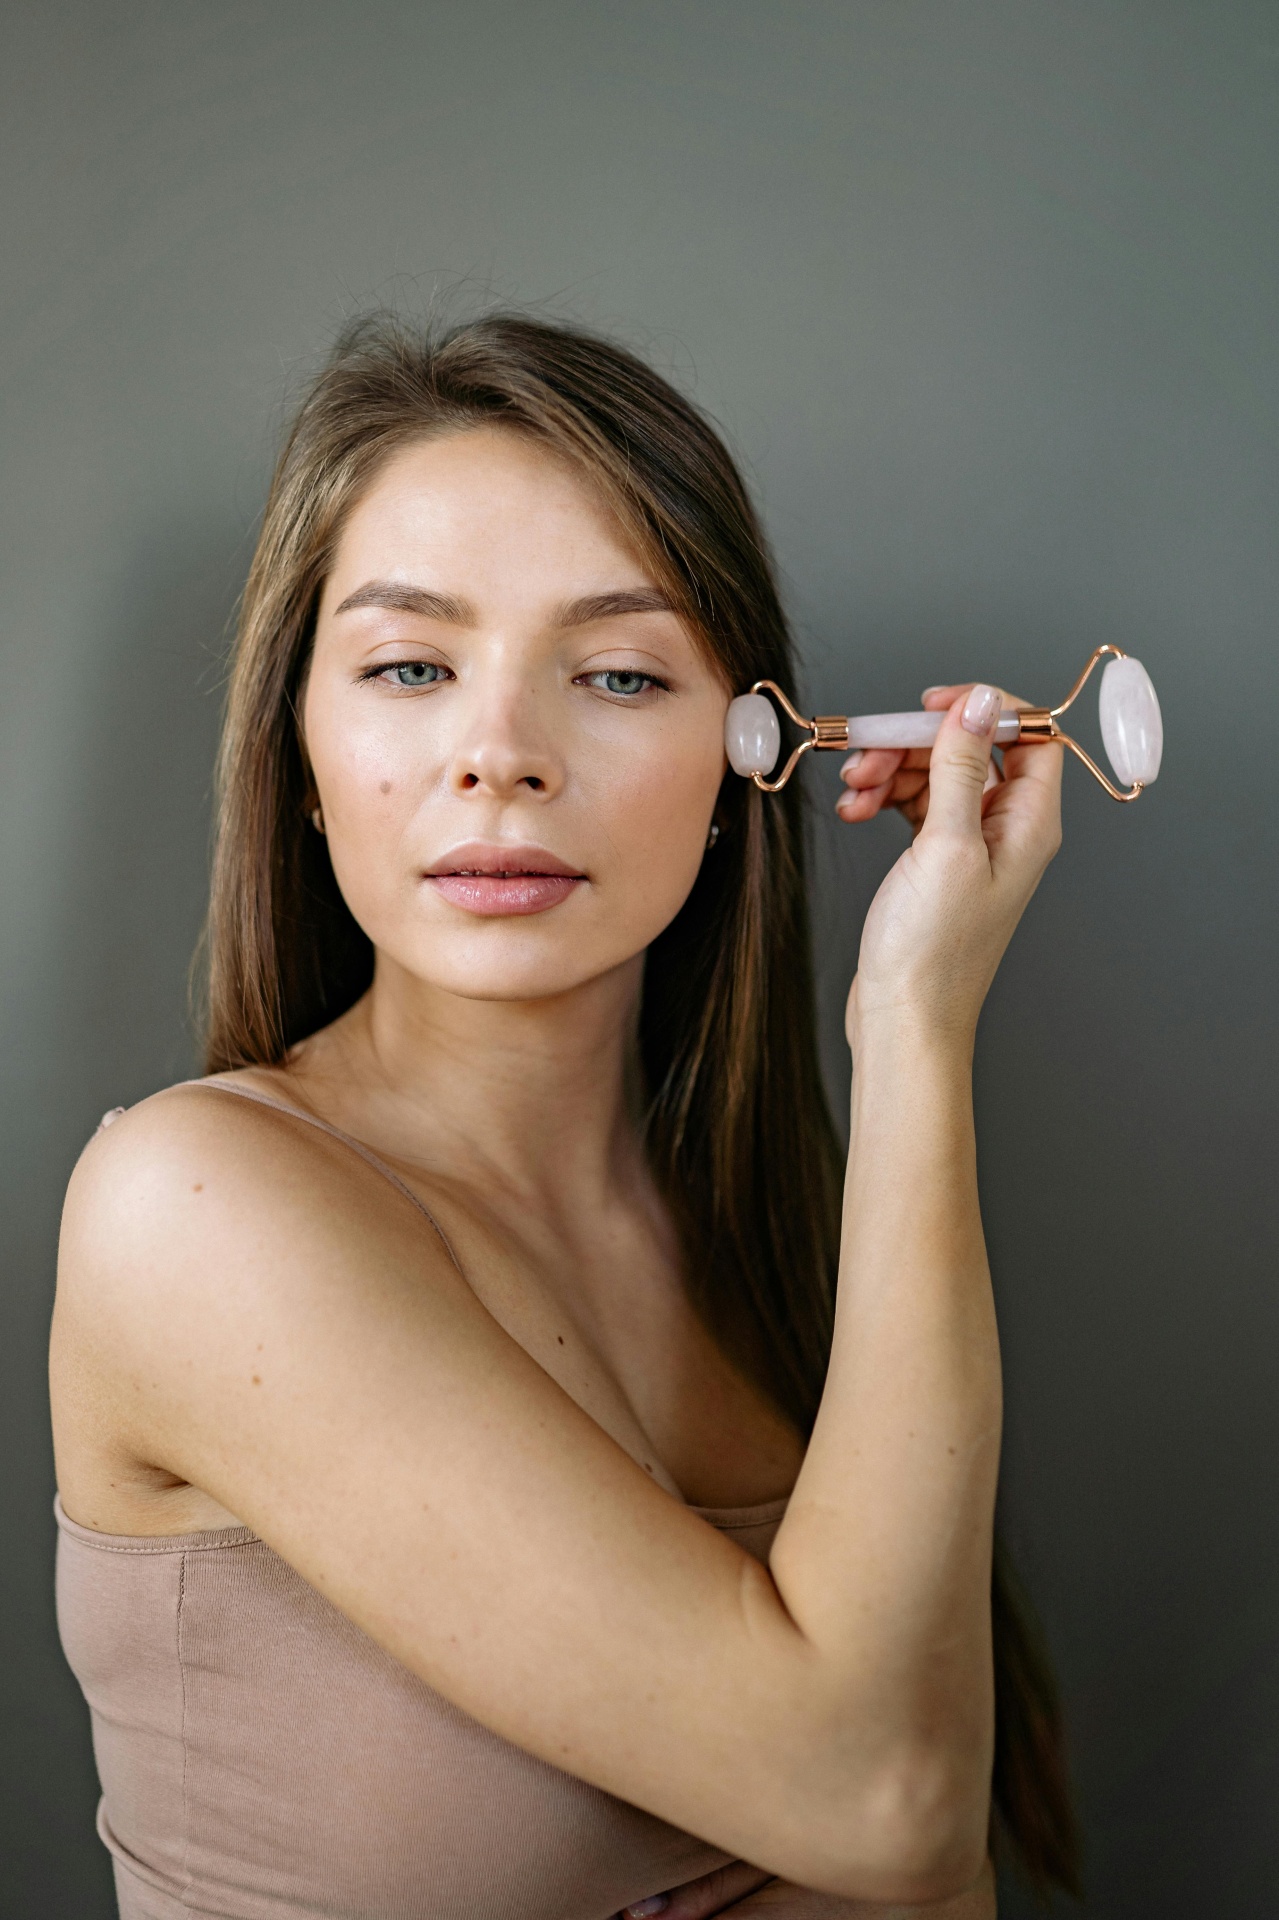
Zone 2: Under-Eyes — Go Gentle
This is the most delicate zone and the one where most people apply too much pressure. Switch to the small roller end. Place it at the inner corner of your eye and roll gently outward toward your temple. The skin here is some of the thinnest on your body — heavy pressure can damage capillaries and worsen dark circles. Three passes per side are plenty.
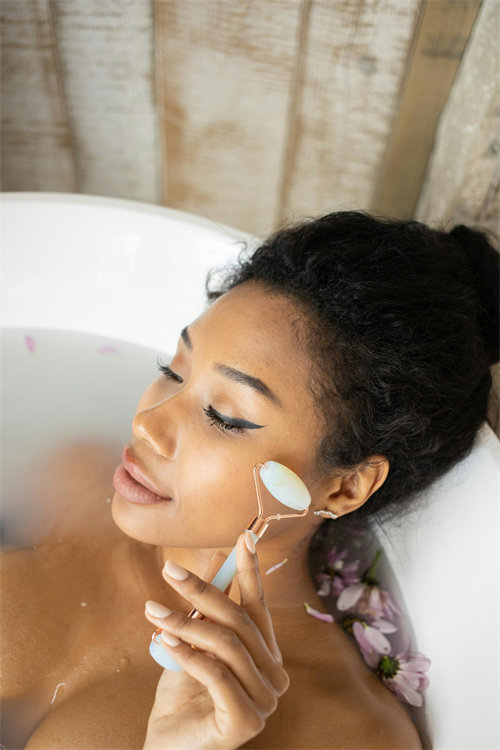
Zone 3: Cheeks — The Main Event
The cheeks are where you'll spend the most time because they have the largest surface area and the most lymphatic vessels. Start at the side of your nose and roll outward toward your ears. Use upward strokes along the upper cheek and horizontal strokes along the lower cheek near the jawline. This is also where the major lymph node clusters sit, so consistent rolling here has the biggest impact on overall facial depuffing.
Zone 4: Nose Bridge — Sinus Relief
Use the small roller end vertically along the bridge of your nose, from between your eyebrows down to the tip. Then roll along each side of the nose from the inner corner of your eye downward. This follows the natural drainage pathway of the nasal sinuses and can help relieve congestion. If you suffer from seasonal allergies, this zone is particularly worth your time.
Zones 5 and 6: Jawline & Between Brows
The jawline responds well to firm, outward rolling from the chin toward the ears. You can use slightly more pressure here than on the cheeks because the tissue is denser. For the area between your brows (the "11 lines"), use the small roller in gentle upward strokes from the inner brow toward the hairline.
Zone 7: The Neck (The Zone Everyone Forgets)
Your neck contains the primary lymphatic drainage pathway for your entire face and head. If you only roll your face and skip the neck, you're pushing fluid to the edges but not clearing it out. Roll from just below the chin downward to your collarbone in 4-5 passes on each side. This completes the drainage circuit and is arguably the single most important zone to include in your routine.
Pro tip: Always start your routine at the neck and work upward toward the forehead. This clears the "exit ramp" first, so when you start draining the face, the pathway is already open. It's like clearing a drain before running water.
Putting It All Together: A Complete Rolling Sequence
Here's the recommended order for a single session, taking about 5 minutes total:
- Neck (45 seconds): Below chin downward to collarbone, both sides
- Jawline (45 seconds): Chin outward to ears, both sides
- Cheeks (60 seconds): Nose side outward to ears, both sides
- Forehead (45 seconds): Center outward to temples, both sides
- Under-eyes (30 seconds): Inner corner outward to temples, small roller
- Nose bridge (30 seconds): Between brows down to nose tip, small roller
- Between brows (15 seconds): Upward from brow to hairline, small roller
Morning sessions are ideal for maximum depuffing. Evening sessions are better for product absorption. Either way, always apply over a serum or moisturizer — never on dry skin.
3 Direction Mistakes That Sabotage Your Results
Even with the face map in front of you, it's easy to fall into these common traps:
1. Rolling back and forth. This is the most common mistake. Back-and-forth rolling doesn't follow the lymphatic pathways and essentially cancels itself out. Every stroke should be unidirectional — outward and down. Pick up the roller and return to the starting position between each pass.
2. Rolling upward on the lower face. While upward strokes work on the upper face (forehead, upper cheeks), they can push fluid in the wrong direction on the lower face and neck. The lower face and neck should always roll downward toward the collarbone. This is counterintuitive because "lifting" sounds like it should go up, but lymphatic drainage works the opposite way.
3. Skipping the neck entirely. As mentioned, the neck is the exit pathway. Without it, you're pushing fluid to the perimeter of your face where it stagnates. If you're short on time, the neck is the one zone you should never skip. This is the single most common reason people say their jade roller "doesn't work."
Face Map for Roller vs. Gua Sha: Key Differences
If you also use a gua sha tool, the face map is similar but the technique is different:
- Jade roller: Broad, gentle strokes over large areas. Best for overall lymphatic drainage and quick depuffing. Think "highway" — moves a lot of fluid efficiently over a wide path.
- Gua sha: Targeted, deeper pressure on specific zones. Best for sculpting, releasing muscle tension, and working on specific congestion points. Think "side streets" — slower but more precise.
The most effective approach combines both: use the roller first for general drainage (2-3 minutes), then follow up with gua sha on targeted areas like the jawline, brow bone, and under-eyes (2-3 minutes).
Frequently Asked Questions
Does the face map change between morning and night routines?
The zones and directions stay the same regardless of when you roll. However, in the morning you might want to spend extra time on the under-eye and cheek zones where morning puffiness is most visible. In the evening, you can spend more time on each pass since there's no rush, focusing on product absorption.
Can I roll in circles instead of straight lines?
You can, but it's less effective for lymphatic drainage. Circular motions are better for muscle release (like when using gua sha for jaw tension). For fluid drainage, stick to straight, unidirectional strokes that follow the natural lymphatic pathways.
How many times should I pass over each zone?
Five to six passes per zone per session is sufficient. More passes don't equal better results — they just increase the risk of irritation and broken capillaries. If a particular zone feels particularly congested, you can add 2-3 extra passes, but don't exceed 10 on any single zone.
Should I avoid any zones if I have acne?
Avoid rolling directly over active breakouts, inflamed cysts, or open sores. Rolling over these areas can spread bacteria to surrounding skin. You can still roll the non-affected zones of your face, but give the breakout area a wide berth until it heals.