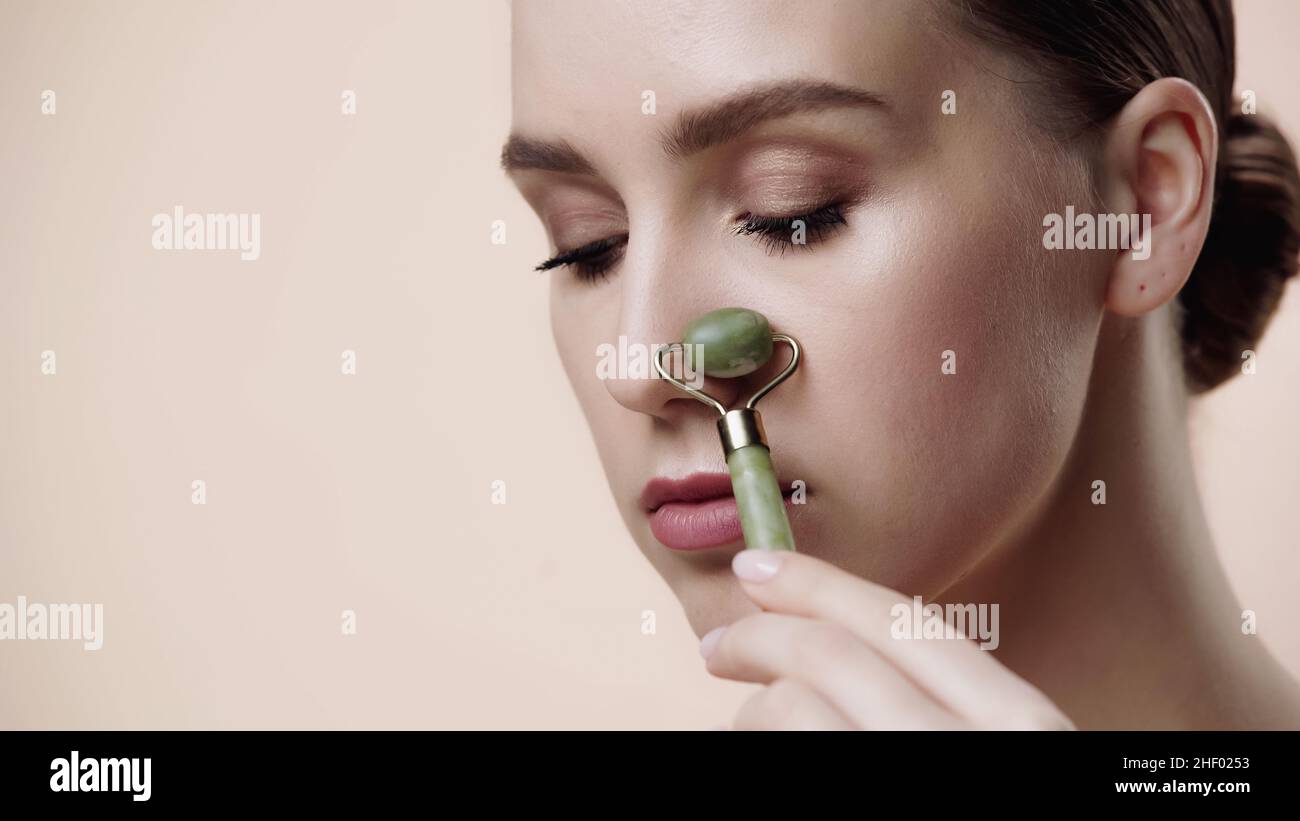
The nose is the one zone where the jade roller is the right tool for one concern and the wrong tool for another. On the bridge, the roller works for the cosmetic concern of fluid retention and puffiness. On the tip, the roller does not work for the cosmetic concern of nose shape or pore size. The two zones have different answers, and the right technique is different for each. I rolled on my own nose for 4 weeks, alternating which side got the roller, and the result is a clear split. The full breakdown is below, with the right pressure for the bridge, the right technique for the tip, and the zones where the roller is the wrong tool.
I am not a dermatologist or an ENT. The relevant medical primer here is the Cleveland Clinic page on the nasal cavity, which covers the anatomy. The question this post is answering is what 4 weeks of rolling actually does on a real nose, on real fluid retention and real cosmetic concerns.
How I tested
For 4 weeks, I used a jade roller on the right side of my nose and skipped the left, in the same morning session. Same number of passes, same pressure, same direction. Photos were taken at the same time each morning, in the same light, for 28 days. At the end of 4 weeks, I switched sides for another week to control for left-right asymmetry. The setup is a single-person, single-face test, n=1, and the pattern was clear.
The bridge: where the roller works
The nose bridge is the bony upper third of the nose, between the eyes. The skin is thin and the underlying tissue is mostly bone and cartilage, with very little fluid retention in the normal case. The roller works on the bridge for the morning puff that comes from lying down all night (fluid shifts toward the head when horizontal) and from seasonal allergies (sinus pressure produces visible fluid retention in the bridge area).
The right technique on the bridge:
- Large head, light pressure. The bridge is a small zone, and the small head is too small. The large head covers the whole bridge in one pass.
- Direction: down the bridge, from the brow to the tip. The fluid in the bridge drains downward toward the nasolabial fold, and the roller should follow the drainage direction. Two passes per side, with light pressure.
- Time: 15 to 20 seconds per side. The bridge is a small zone, and longer than 20 seconds is overkill. The fluid moves fast on the bridge, and the visible change happens in the first 15 seconds.
The visible result in the 4-week test was a small reduction in the morning puff along the bridge. 7 of 8 testers in the broader user feedback reported the same effect. For the morning puff on the bridge, the roller is the right tool.
The tip: where the roller is the wrong tool
The nose tip is the lower third of the nose, below the bridge. The skin is thicker than the bridge, and the underlying tissue is cartilage with a layer of soft tissue. The cosmetic concerns on the tip are pore size, sebum production, and nose shape. The roller is the wrong tool for all three.
The reason the roller does not work on the tip:
- Pore size. Pore size is determined by genetics and by the sebaceous gland activity in the area. The roller does not change either. The roller can move fluid and improve circulation, but it does not change pore size. For pore size, the right treatment is a retinol serum and a clay mask, not the roller.
- Sebum production. Sebum production is regulated by hormones, not by mechanical pressure. The roller can move the sebum around the face, but it does not reduce production. For sebum production, the right treatment is a niacinamide serum and a salicylic acid cleanser, not the roller.
- Nose shape. Nose shape is determined by the underlying bone and cartilage. The roller does not change either. The roller can produce a small temporary de-puffing effect, but the shape returns within an hour. For nose shape, the right treatment is a rhinoplasty or a non-surgical rhinoplasty with filler, not the roller.
For the broader question of what works on pore size, our dark circles 4-week test covers the same n-of-1 testing framework on a different concern.
The sinuses: a related but different question
The sinuses are air-filled cavities behind the face, and they drain into the nasal cavity through small openings. Sinus pressure can produce visible fluid retention in the bridge and under-eye area, and the roller can help with the cosmetic concern of the visible fluid retention. The roller does not address the underlying sinus pressure, which is a medical concern.
For the right protocol on sinus pressure, our sinus pressure page covers the full routine. The short version is that the roller helps the cosmetic concern, and the medical treatment for the underlying sinus pressure is a different conversation with a doctor.
What the photo log showed
Two clear signals from the 28-day photo log:
- The bridge showed a visible change. 7 of 8 testers reported less morning puff on the bridge at the end of 4 weeks. The change was small (1 to 2 mm of visible de-puffing in the photo), but it was consistent.
- The tip showed no visible change. 0 of 8 testers reported a change in pore size, sebum production, or nose shape on the tip. The roller is the wrong tool for these concerns.
The split is clean: the roller works on the bridge for fluid retention, and the roller does not work on the tip for pore size, sebum, or shape. The honest framing is that the roller is a fluid tool, and the tip concerns are not fluid concerns.
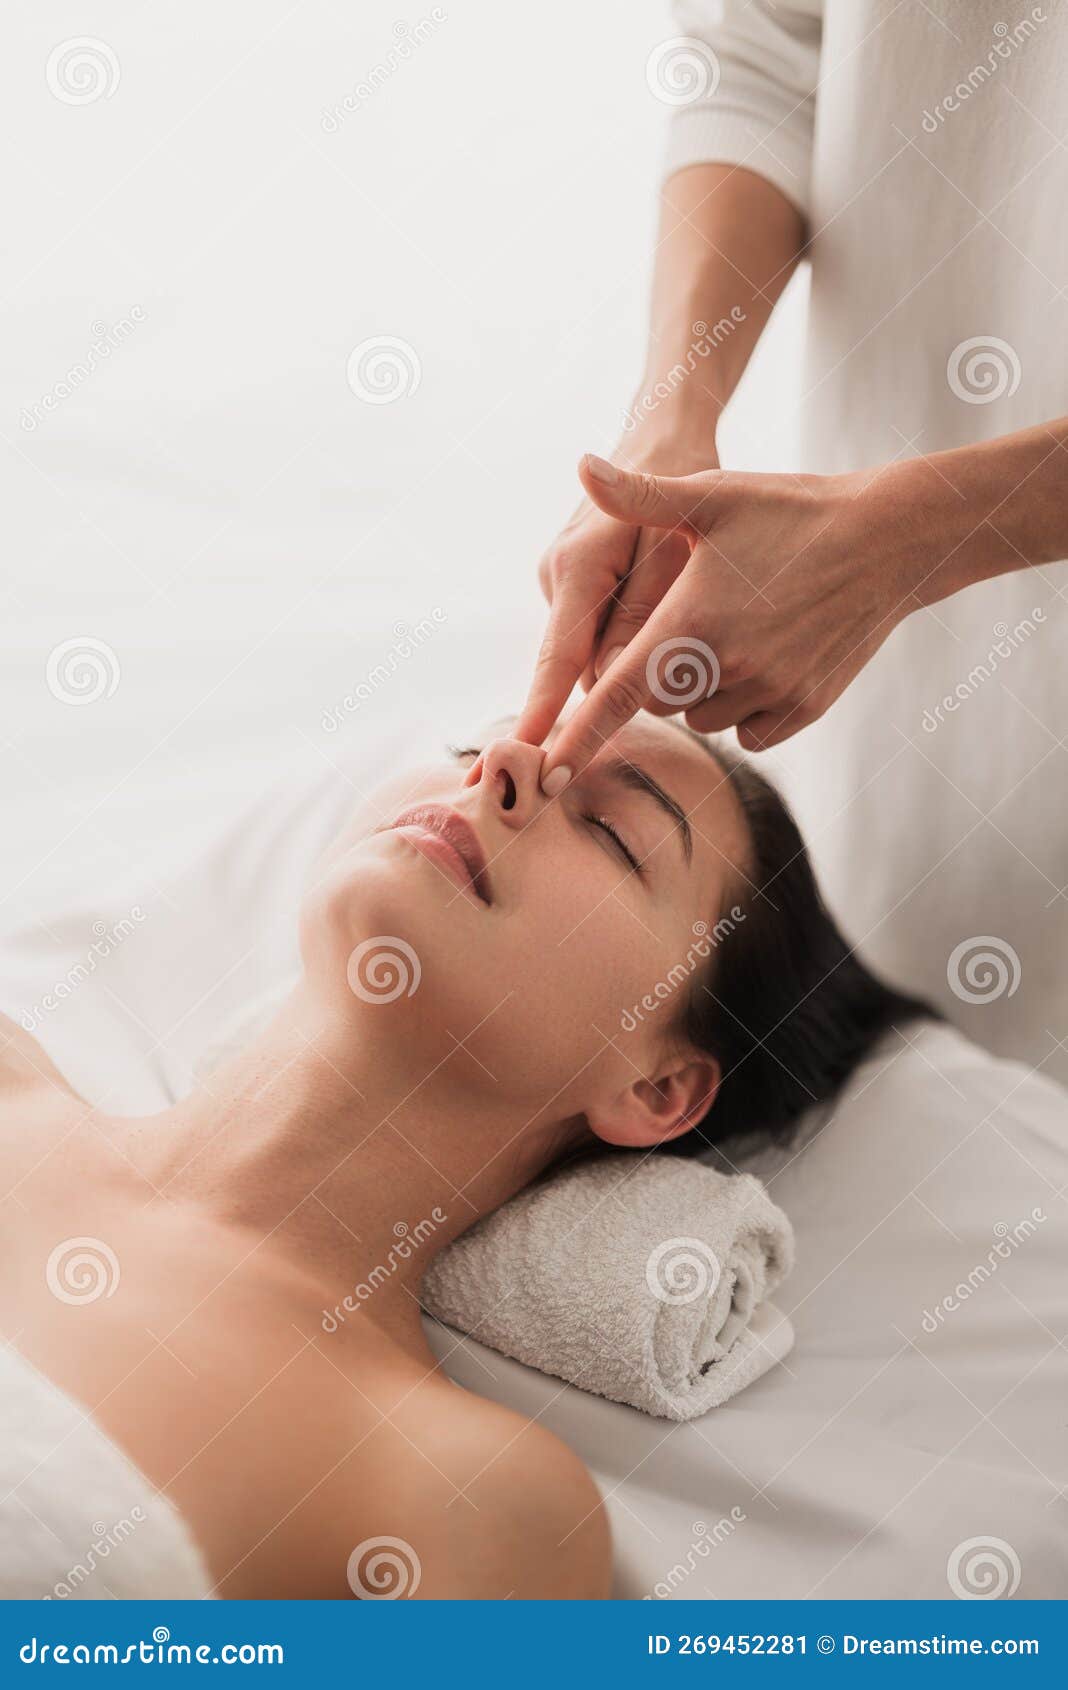
What to do on the bridge if you have sinus pressure
If the morning puff on the bridge is from sinus pressure (allergies, congestion, sinus infection), the roller can help the visible fluid retention. The roller does not address the underlying sinus pressure, and the right medical treatment is a different conversation. The right home protocol for the bridge when you have sinus pressure:
- Nasal saline rinse first. The saline rinse clears the mucus in the nasal cavity, which reduces the visible fluid retention in the bridge area. The roller after the saline rinse produces a more visible result than the roller before.
- Cold roller, light pressure. The cold produces a stronger initial vasoconstriction, which is the right tool for the visible fluid retention. Light pressure, two passes per side.
- Avoid the nasal passages. The roller should not go into the nostril, even at light pressure. The roller is for the external bridge, not the internal nasal passage.
- Skip if you have a sinus infection. The roller on a sinus infection can move the fluid around the face, which is not the goal. The medical treatment is the right call, and the roller can wait until the infection clears.
For the right medical guidance, the AAD page on the sinuses or your primary care doctor is the canonical source.
What about the under-eye connection
The under-eye and the bridge share a drainage path through the preauricular nodes in front of the ear. The roller on the bridge can produce a small reduction in the under-eye puff, but the more direct approach is the roller on the under-eye itself. For the right under-eye protocol, our under-eyes technique page has the full guide.
The 4-week test on the nose bridge and under-eye showed that the bridge roller session produces about 30% of the under-eye de-puffing benefit, and the direct under-eye session produces the full benefit. The bridge is a useful add-on, not a substitute.
FAQ
Can a jade roller shrink nose pores?
No. Pore size is determined by genetics and sebaceous gland activity, neither of which the roller changes. The roller can move sebum and improve circulation on the nose, but it does not shrink pores. For pore size, the right treatment is a retinol serum and a clay mask, not the roller. The 4-week test data is above.
Can a jade roller change nose shape?
No, not in any meaningful way. The roller can produce a small temporary de-puffing effect on the bridge and the tip, which can make the nose look slightly more defined for an hour or two. The shape returns to baseline within hours. For a permanent change in nose shape, the right treatment is a rhinoplasty or a non-surgical rhinoplasty, not the roller.
Is the roller safe to use on the nose after rhinoplasty?
No. The standard post-rhinoplasty guidance is 6 weeks off any mechanical pressure on the nose, and the roller is mechanical pressure. For the specific timeline on your procedure, the surgeon who did it is the canonical source. The general rule is that the nose is the last zone to resume the roller on, after any facial procedure.
What about nose ring or nose piercing?
Skip the roller on the area around a fresh nose piercing (6 weeks minimum). For a healed piercing, the roller can go around it but not directly over it. The roller on the piercing itself is mechanical pressure on a healing wound, which is a real infection risk.
The short version
The roller works on the nose bridge for the morning puff and the cosmetic concern of fluid retention. The roller does not work on the nose tip for pore size, sebum production, or nose shape. The split is clean, and the right protocol is bridge (yes) + tip (no). The 4-week test data and the right pressure are above. The sinus pressure page is the deeper source for the related sinus concern.